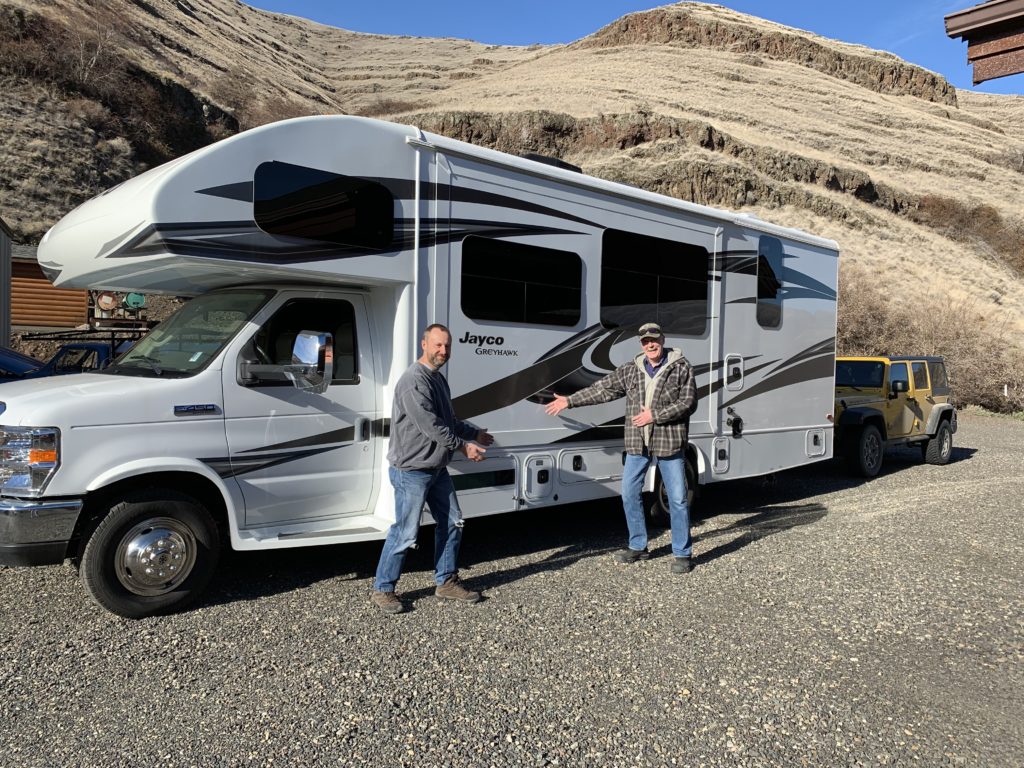
In my previous post I talked about the need to upgrade our 2019 Jayco Greyhawk house battery bank—it came equipped with one lead acid battery and no slot to install a second. I explained how we came to believe lithium (LiFePO4) house batteries are worth the cost by comparing them head-to-head with lead acid. Here I cover our selection of components for a lithium bank and their installation.
Components
Batteries
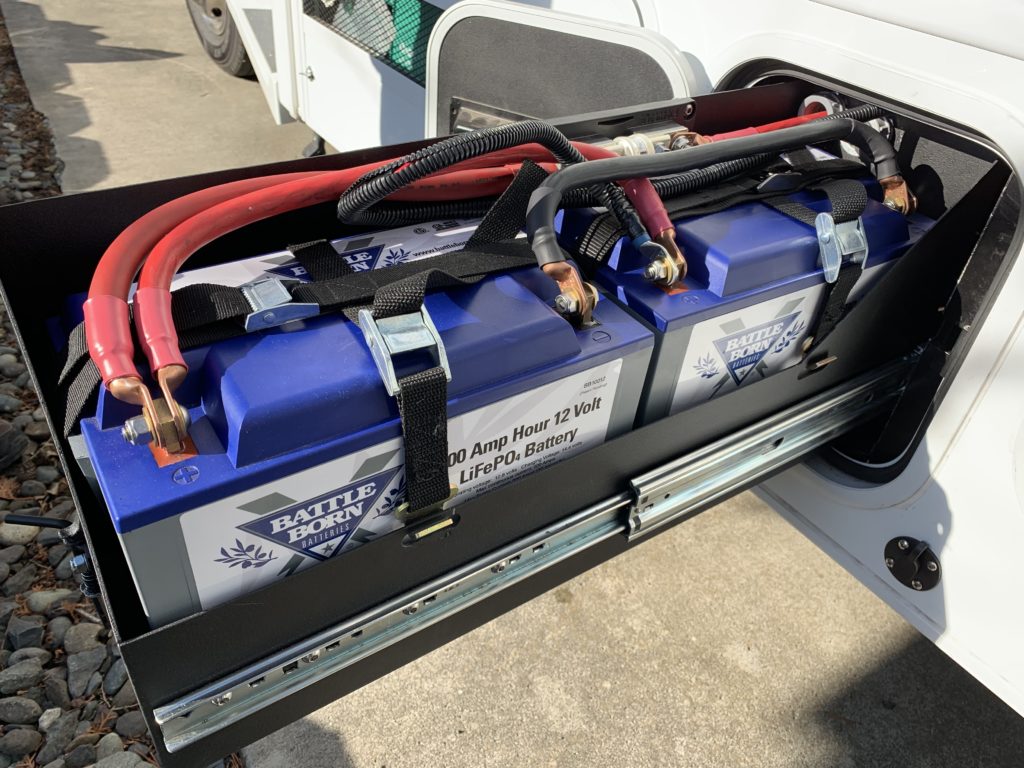
After the failure of off-brand AGM batteries purchased when we first attempted to upgrade, I was willing to spend extra for high quality lithiums. It came down to Battleborn or Relion because the batteries made by both companies have fantastic online reviews. The group 27 size offered by each have similar features, but the cost of Battleborn was $100 less and the warranty twice as long, 10 years versus 5. For these reasons I bought two Battleborns.
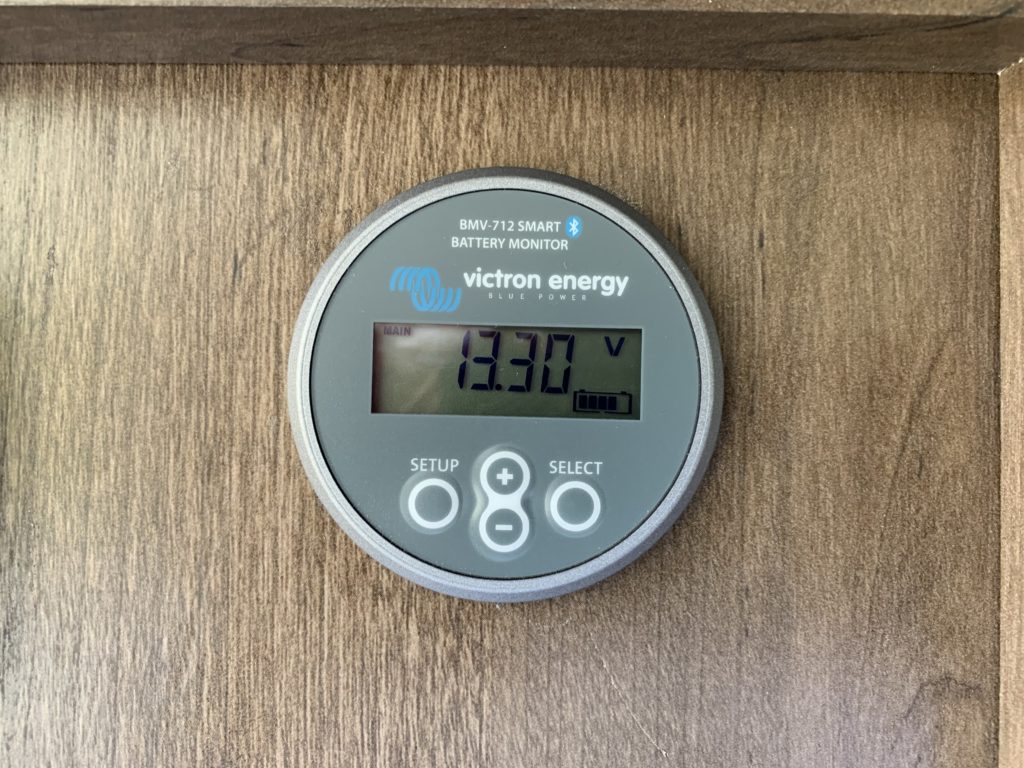
Battery Monitor
As discussed in my last post, voltage is a poor indicator of State of Charge (SOC) for lithium because it varies little over the discharge cycle—a gauge that counts coulombs would be necessary. I purchased the Victron BMV-712 battery monitor, the brand most commonly used by RVers. I also purchased an optional temperature monitor cable as a safeguard against charging when the batteries are too hot or cold. The built-in Battery Management System (BMS) does this for extreme cases; however, battery life is extended by not charging well before these thresholds (below 25° and above 135°) are reached. Our favorite feature of the BMV-712 is the built-in Bluetooth and user-friendly App for configuration and monitoring via smart device.
On-board Charger
This device controls battery charging from either shore power or the generator. If it does not support a lithium charge profile the batteries will not charge as fast and completely as possible. For my Progressive Dynamics PD4060 converter/charger this was a simple upgrade of the charger board to a PD4060LICSV.
Battery Switch
We purchased a battery on/off switch for several reasons. I wanted to be able to disconnect the batteries when connected to shore power to avoid overcharging after reaching the desired SOC. For lithium, battery life can be extended by not always charging to 100% SOC. As mentioned previously, I also want to avoid charging when the batteries are too hot or cold. Other reasons include avoidance of parasitic loads when the batteries are not in use and to provide isolation during maintenance. A lesser known issue solved by the switch is isolation from the RV alternator during travel—the high current demand of lithium may decrease alternator lifespan.
Cable and Fusing
Deciding on the size of cables to connect the batteries in parallel and the run to the load side connections was a bit more involved. Generally cable size depends on the expected load current and length of run. I started by considering worst case loads. My RV manual shows the generator draws 95 amps at startup and the inverter has a maximum input DC current rating of 94 amps—worst case draw would be about 100 amps. I estimated my longest cable run would be 3′ or less (it ended up being over 6′). For a conservative estimate I doubled my expected maximum draw to be 200 amps. Plugging these values into a DC cable calculator, I determined I would need 2 AWG cable. This seemed reasonable as the largest load side cable was also 2 AWG.
I planned to include battery bank fusing with the upgrade since none had existed previously. Based on this chart for 2 AWG cable I would need a 200 amp fuse or smaller. I considered Mega/AMG fuse type since they are commonly used for small battery bank applications. Another nice option my friend Tom recommended, if space allows, are terminal type fuses. The advantage of this fuse type is that they are the shortest possible distance from the source. The American Boat and Yacht Council (ABYC) requires these fuses to be 7″ or less from the battery bank.
After my initial research I sought a second opinion on the cable size and fuse I was considering. Around this time Lusha had hooked me up with the DIY RV Solar System facebook group. Posts on this page have much to say about lithium systems, so I went ahead and posted details of my plan. Two points brought to my attention I had not considered were the surge capacity of my 1000 watt inverter, which could easily be 50% higher than the rated 94 amp maximum, and the fact that lithium batteries have an incredible ability to source high current.
The consensus opinion of the group was to go no smaller than 2/0 cable. They also recommended using a class T fuse—common practice for lithium battery banks because of it’s incredibly high Amperage Interrupt Current (AIC) of nearly 20,000 amps. Figuring it wouldn’t hurt to go big for our expensive lithiums, I went ahead and purchased 2/0 cable along with a 250 amp class T fuse and holder.
Installation
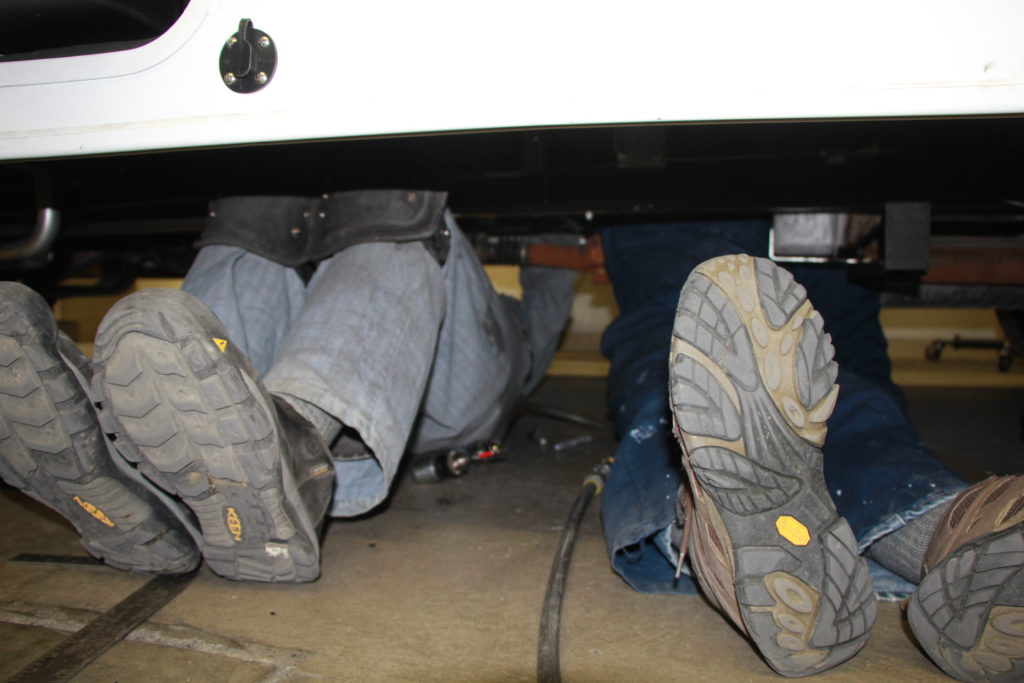
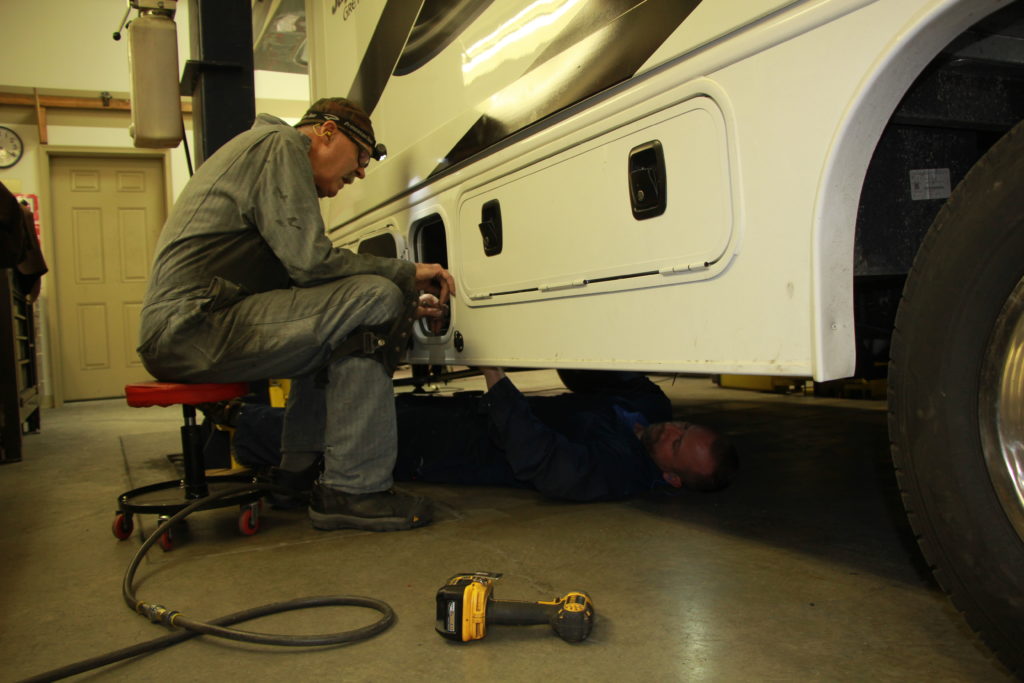
With components purchased for our Jeep toad and battery bank installations, my father-in-law Dave and I began both projects. My initial plan was to install both batteries next to the existing single battery compartment to simplify charge balancing and keep cable runs as short as possible, rather than separating them between compartments. Dave looked it over, took measurements, and thought there was enough space to replace the existing tray with one that would hold two batteries end-to-end. This was a great idea because it would better utilize space and be more structurally sound, since the compartment I was planning to use is composed of cheap, flexible plastic. With Dave’s skills and experience I knew we could make it happen, but had no clue of the work that would be involved. Between the Jeep toad and battery installation it was a two month effort consuming every weekend—the majority of this time spent on the batteries.
Battery Tray Replacement
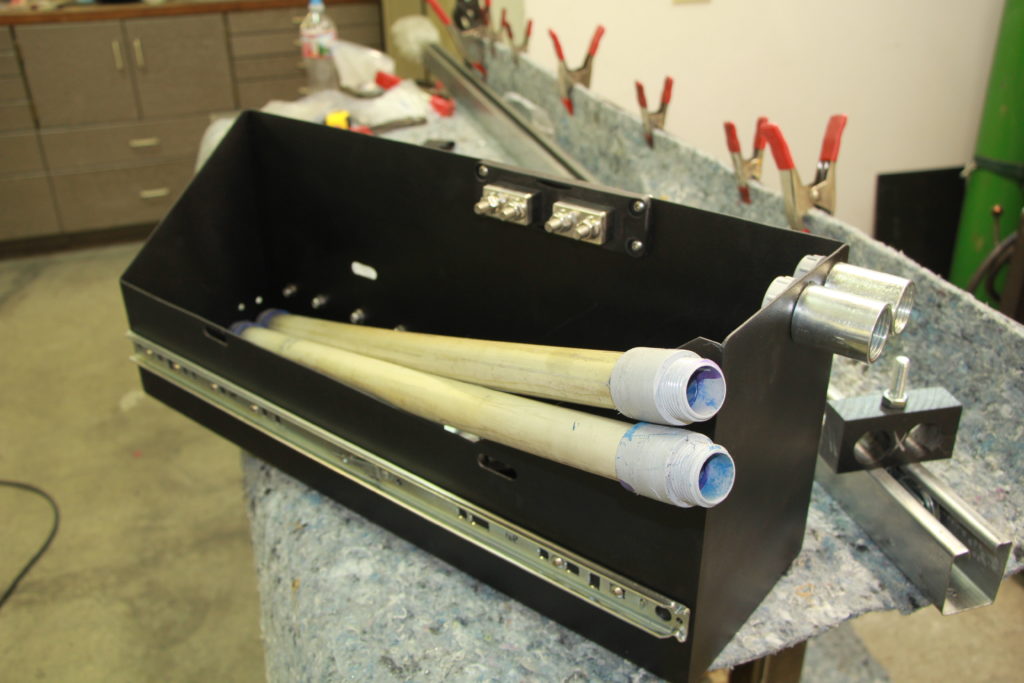
Measurements indicated the batteries would fit; however, making it work was less than certain. Dave spent some time figuring how to run 2/0 cable in parallel between the batteries and out to the control housing—it would be tight. As details unfolded, such as the need to house the massive class T fuse holder and allow for a direct connection from the battery monitor shunt for power and temperature monitoring, his consternation mounted.
Dave made it work. He designed the battery tray similar to the existing one. He purchased steel at a local fabrication shop and had them bend sections to his specifications. He assembled the tray with slides found online. He also built a box and front-end flange to support the tray and seal the batteries from contaminants.
At one point during assembly (happily I was not there) one of the slides came apart and all 24 bearing balls went flying. Dave searched high and low, finding balls here, there, and everywhere. He found 23 but could not find the last. Ready to give up a strange thought occurred to him. He reached into his back pocket and there it was, number 24.
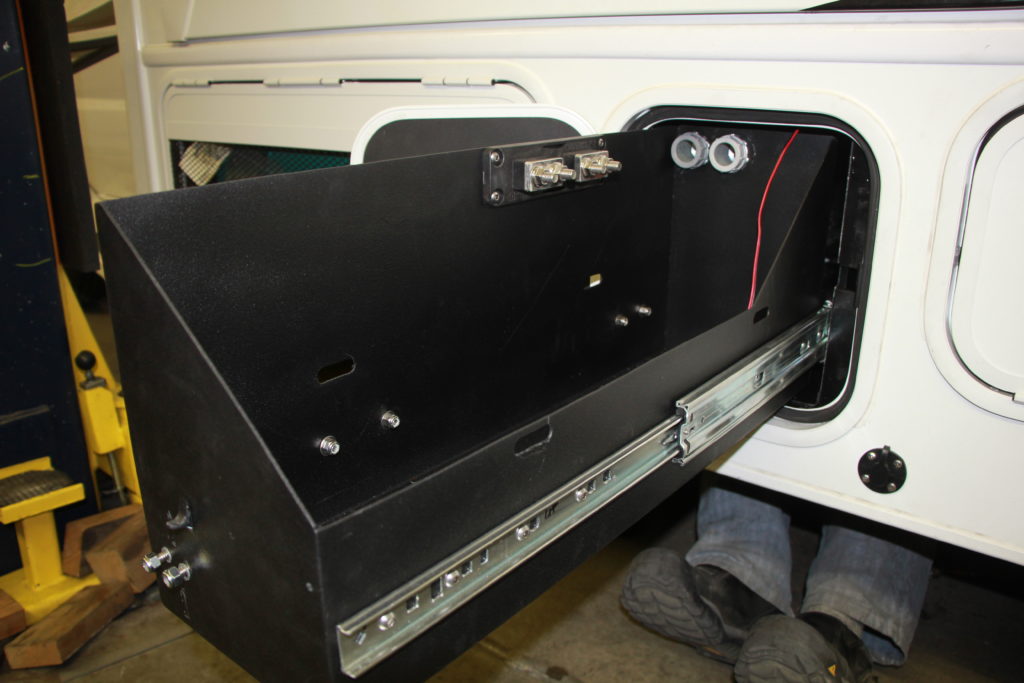
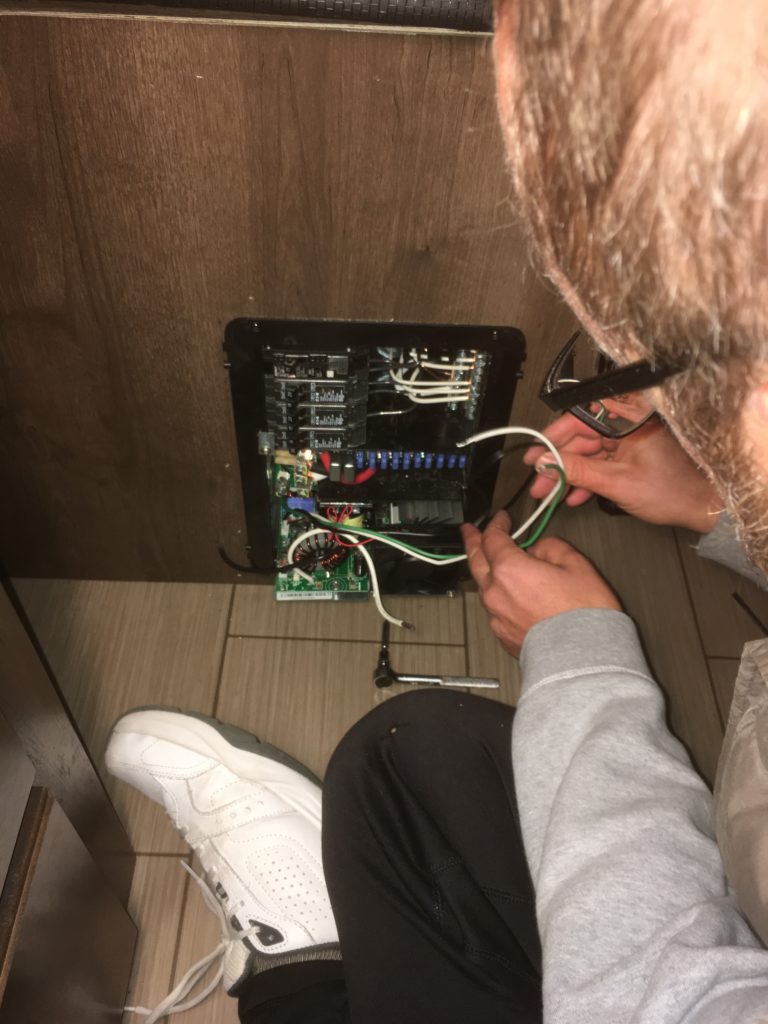
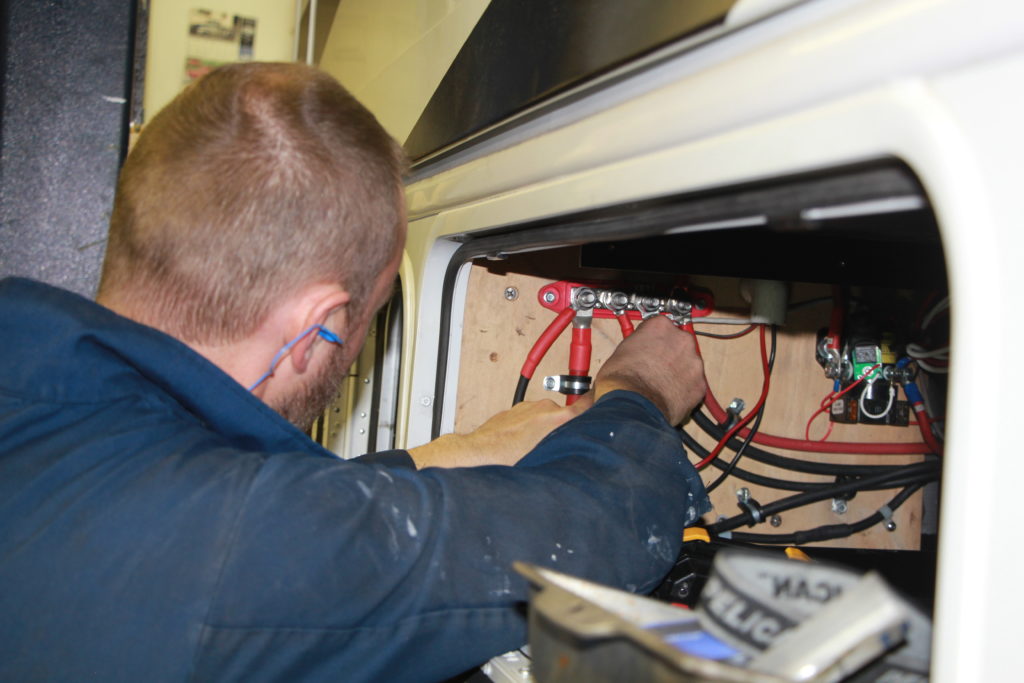
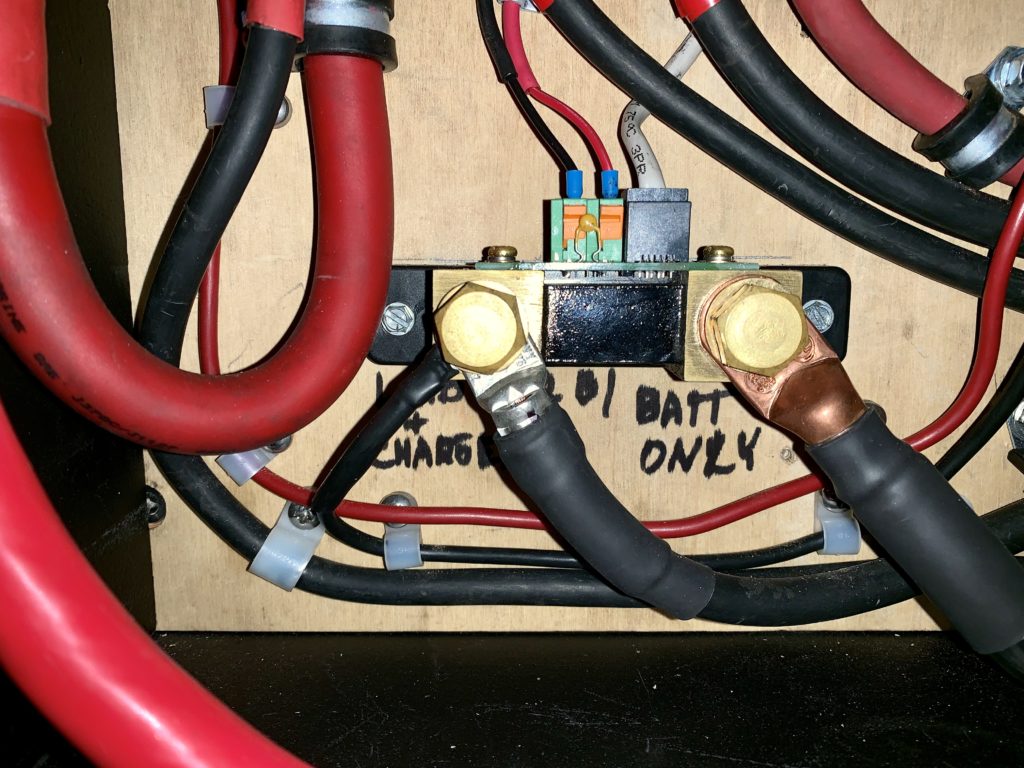
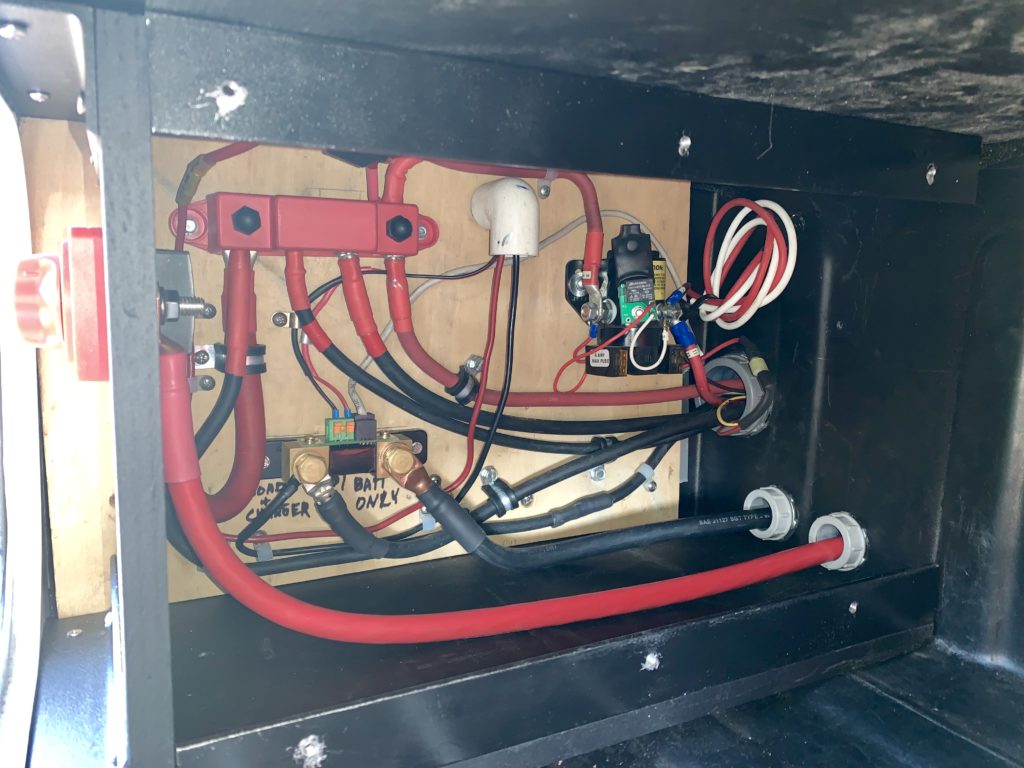
Control Housing
We built the control housing in the compartment next to the batteries to contain various circuitry. We moved all load side cabling, connected directly to the battery in the old configuration, to this space through a large PVC pipe. We also moved the DC disconnect solenoid, controlled by the power switch located inside the motorhome door, from behind the old tray into the housing. It also contains the battery monitor shunt that measures current flow into and out of the batteries. A small conduit was added adjacent to the battery tray to run battery monitor power and temperature sensor wires, along with the plug wires for our portable Zamp solar panel. The cables running from the batteries enter from the back via separate conduits. The positive cable connects to the battery switch in series with the positive bus bar. The negative battery cable connects to the shunt on the indicated side and the other side of the shunt connects to the negative load and solar plug wire.

Cable Support System
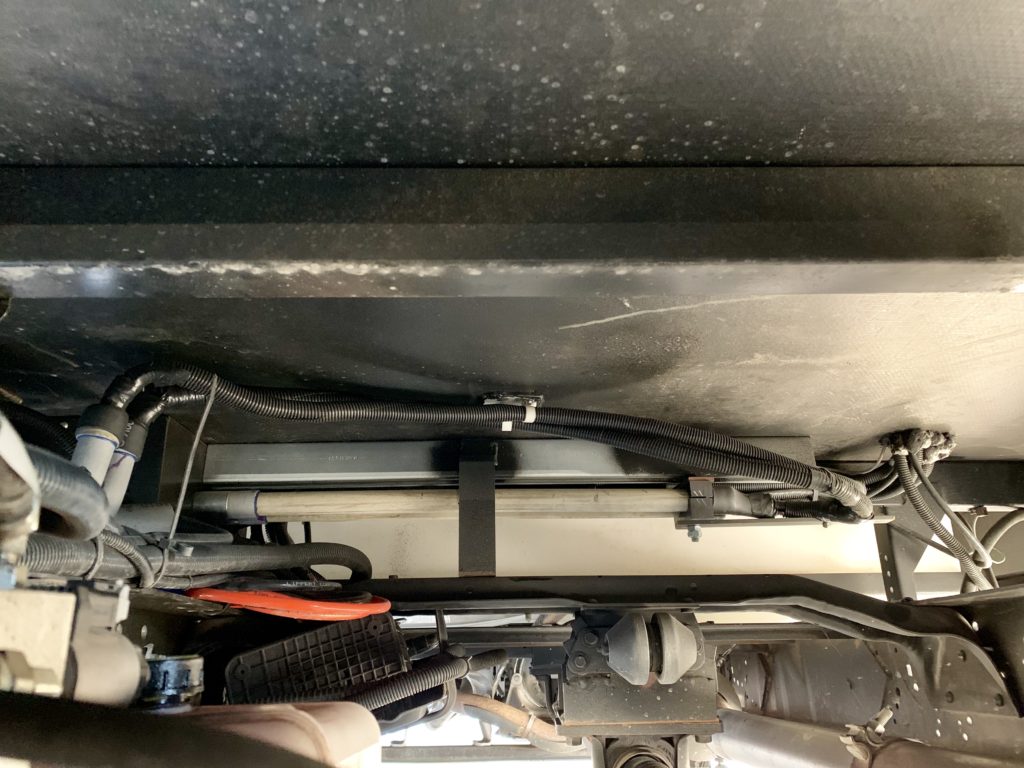
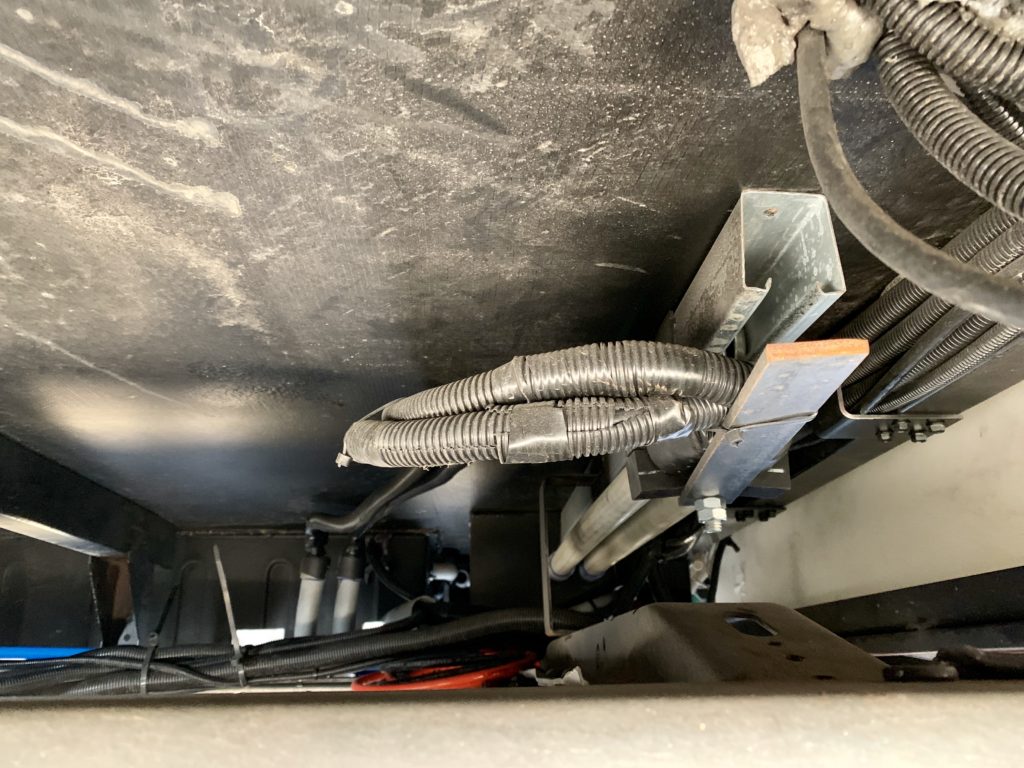
Cables running from the batteries to control housing need to be long (6′ or greater) to allow the tray to move freely between fully open and closed positions. (Note: This additional distance between batteries and load was another reason I was happy we were using 2/0 cable.) The long cable length raised troubling questions. How do we keep the cable from hanging too low when the tray is closed? How can tangling be avoided?
To solve these issues Dave recalled a mechanism he once used to install a motor in a tight space—box rail and trolley hanger. We purchased a simple rail system commonly used on barn doors. A long PVC pipe for each battery cable extends out the back of the tray, attaches to the trolley, and travels in the box rail. Pretty cool, huh?
A Job Well Done!
Lusha and I are extremely grateful to Dave for lending his expertise and resources. It was a neat experience to witness this sort of fabrication first-hand—the skills and precision required was beyond anything I had envisioned. I was surprised by the number of measurements taken and retaken; parts searched for, shopped for, ordered, and received; steel, wood, and PVC cut, drilled, welded, glued, ground, sanded, cleaned, and painted; pieces assembled, installed, removed, and disassembled; cable and wiring ran, cut, skived, and secured; connectors clocked, crimped, and attached. Numerous times problems were encountered and overcome. Holy crap this was a big project!

A little complicated for me but, knowing you and Dave I know It is a fantastic job! And will serve you well.
Great and informative article Jason. Only one correction, there were 46 balls not 24 that came out of the linear rail.
OPPS, not 46 balls it was 48.
Dave
Great story Jas! The fact that you two are still speaking after working so closely together on this project is a miracle! We miss seeing you every weekend! Also gave Lusha and I some together time 🙂
Hello Albert,
I am sorry, but we are not at all familiar with east coast installers (or west coast for that matter since we did our own install). My one recommendation would be to try and find a company that specializes in solar installs vs. an RV dealer.
Good luck!
Lusha