Back and forth it went the first five months of 2018, do we buy a fifth wheel or class C motorhome? The latter prevailed due to maneuverability and ease of setup; more importantly, this meant we could keep our Jeep! To accomplish this it would need to be converted into a towed-vehicle (toad). We considered putting this off and driving separately, but figured fuel savings, minimized wear and tear, and avoiding campground fees for two vehicles made it worth doing now.
The first question is how to tow: on a trailer, on a dolly with two tires down, or four tires down? A trailer would minimize wear and tear on the Jeep, but would not be practical with the additional towing weight. A tow dolly is not appealing because of the added setup and tear-down time, which leaves four down. Lucky for us the Wrangler is one of the few vehicles designed with this sort of towing in mind.
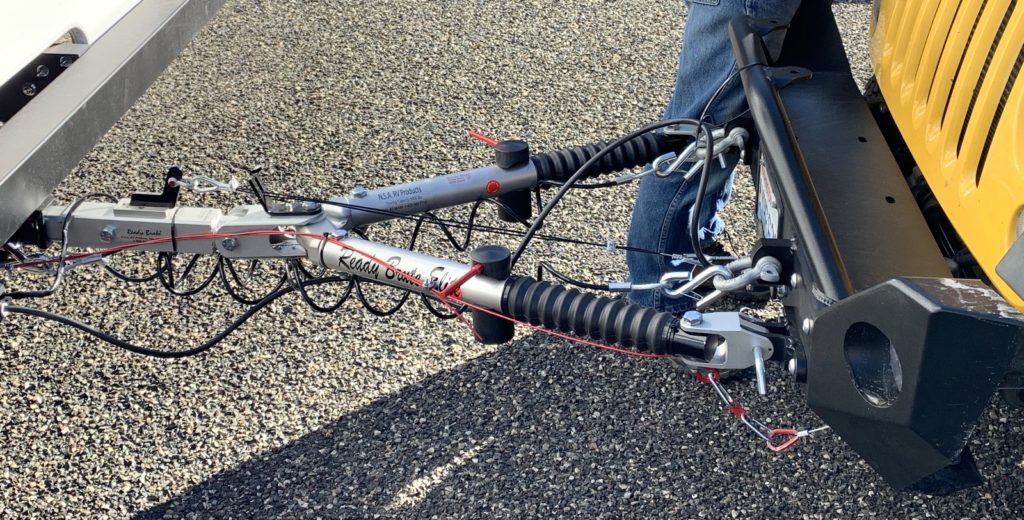
The next consideration is tow bar and braking system. My initial research of braking pointed me to a machine on the driver side floor board powered by an electrical signal that activates a mechanical arm. This struck me as heavy-handed and tedious to setup. Then I came across this post by Joe Russo. The braking system they use is built into the tow bar and entirely mechanical. Based on inertia, the weight of the Jeep pushes into the RV as it slows, activating a piston which pulls a cable attached to the brake pedal. Additionally, this option was about $1000 cheaper than the alternatives. I was sold.
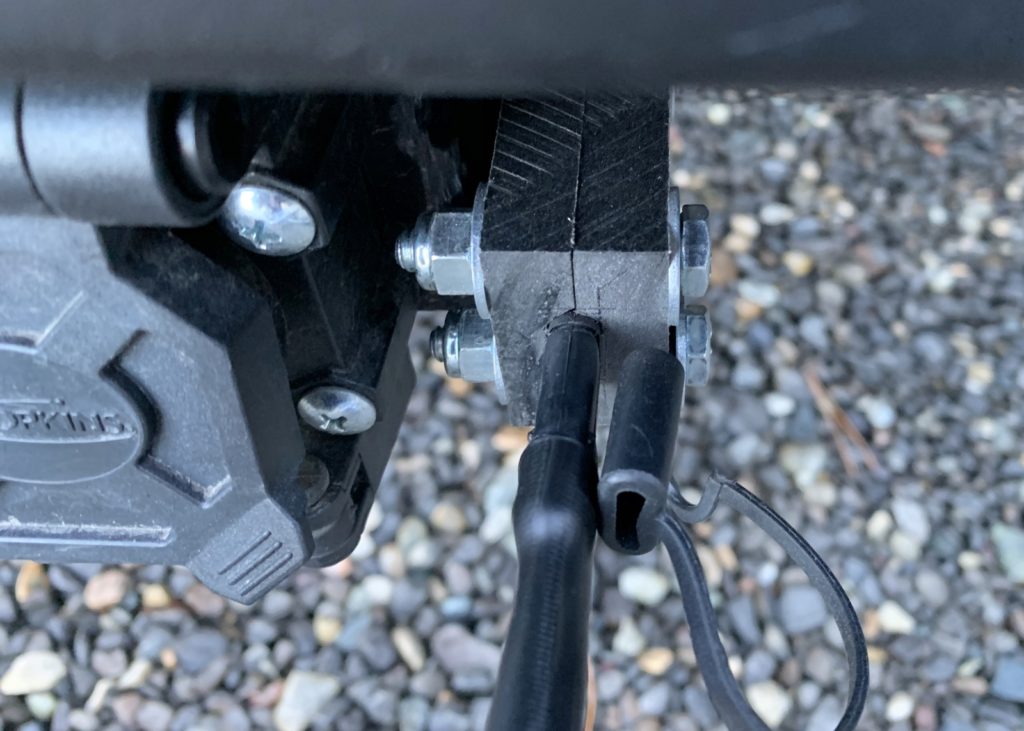
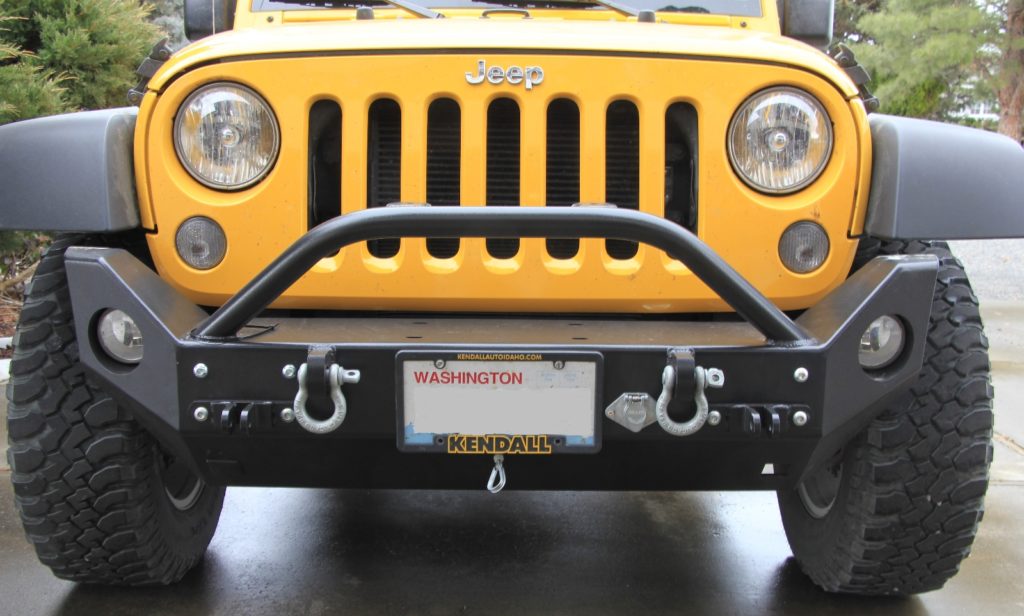
For the same reasons Joe mentioned in his post we bought an aluminum bumper from Rock Hard 4×4. However, we went with the mid instead of the full width bumper because of the rugged look of the exposed tires (and was $200 cheaper). However, rocks can be thrown at the RV as it barrels down the road; we may regret this choice.
Toad Parts
Rock Hard 4×4 Mid-width aluminum bumper (RH-5049)
Rock Hard 4×4 Blue Ox Tow Bar Bracket (RH-8000)
Cooltech JK Tow Harness Deluxe Kit
Toadification
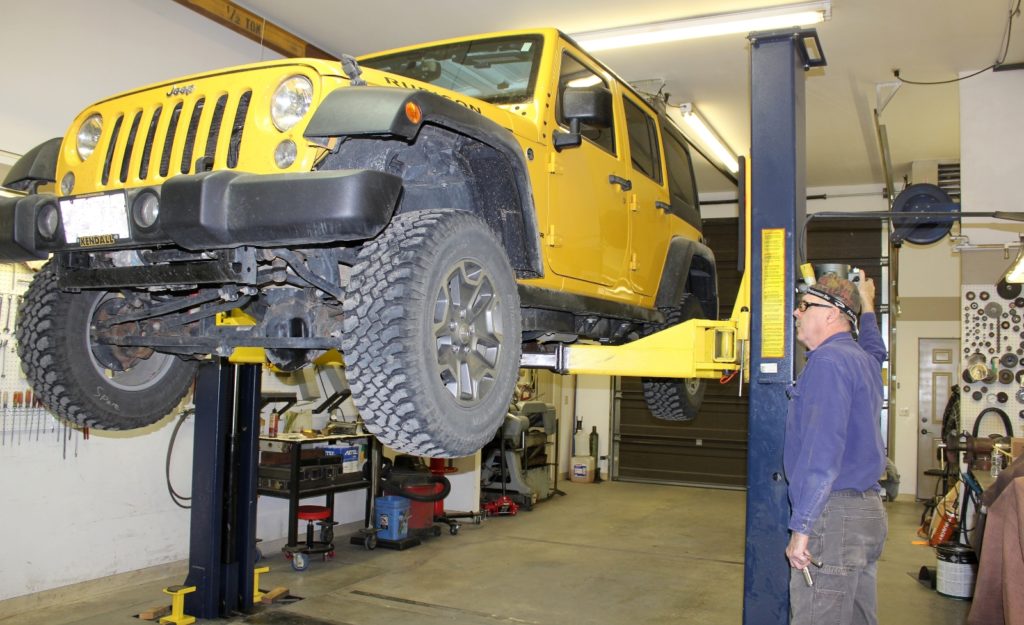
I didn’t know what I would encounter between this project and the Lithium battery upgrade. I thought I might be able to do it all myself given enough time, but I knew there was no guarantee it would be done before we we’re ready to hit the road. Fortunately, my father-in-law Dave offered his help, tools, and massive heated shop. With his expertise as a millwright and experiences on his own projects, I knew it would be done correctly with time to spare.
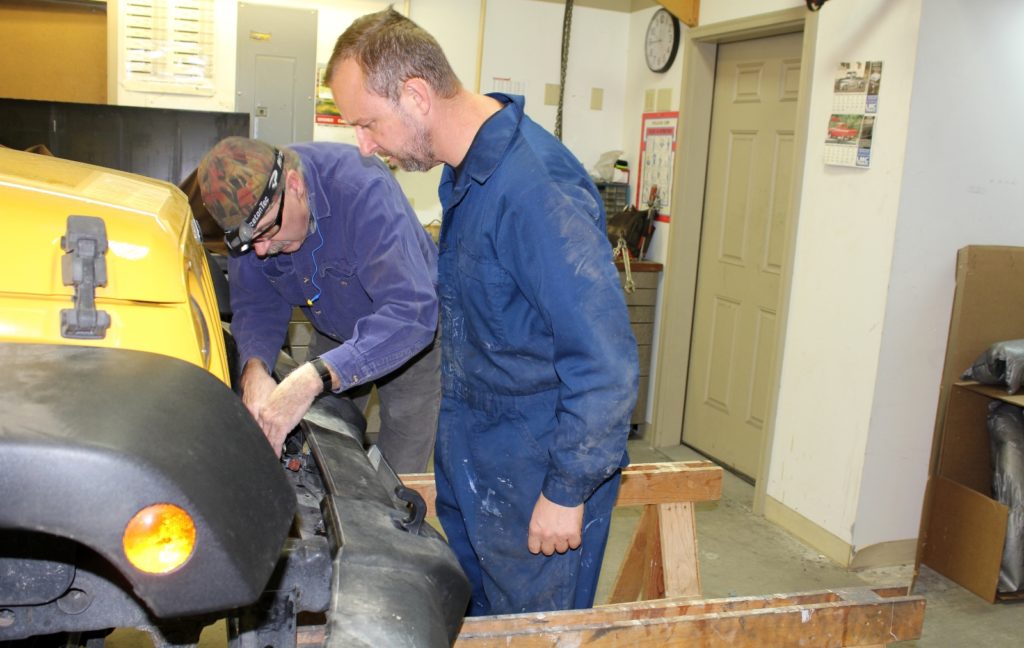
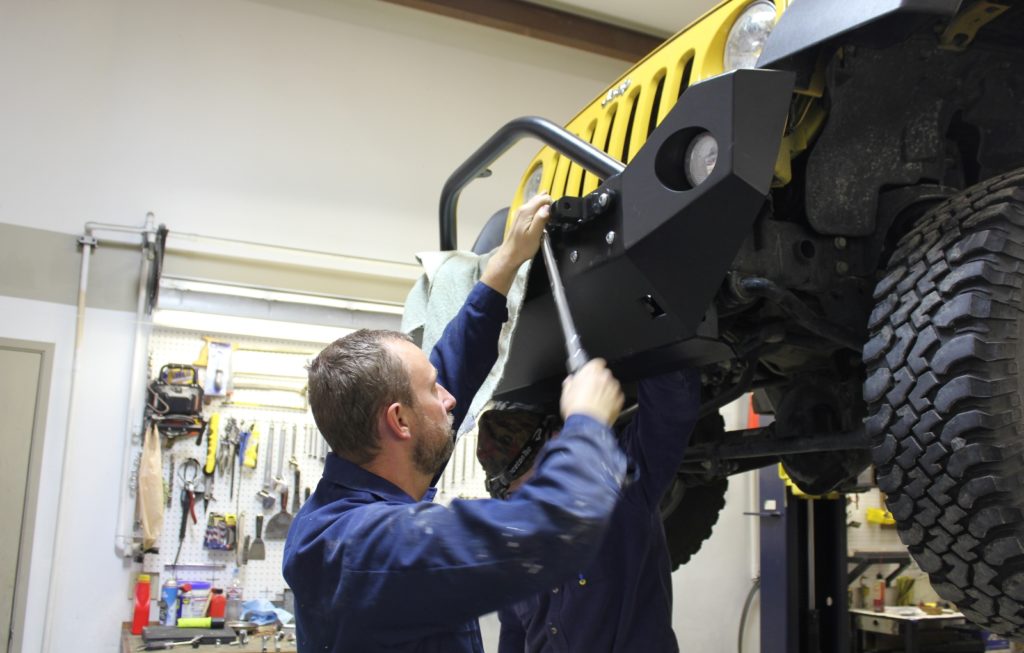
This video by WeRmudfun was extremely helpful during installation. Dave ran with their idea of cutting a spacer at an angle to extend the ReadyBrake cable out of the bumper parallel to the ground, ensuring a smooth run to the tow bar.
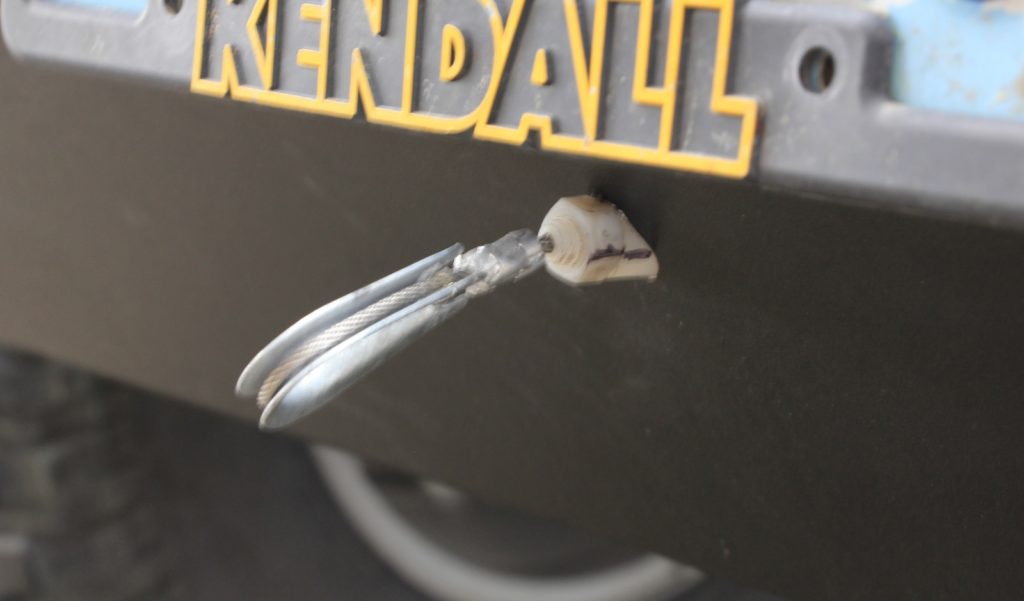
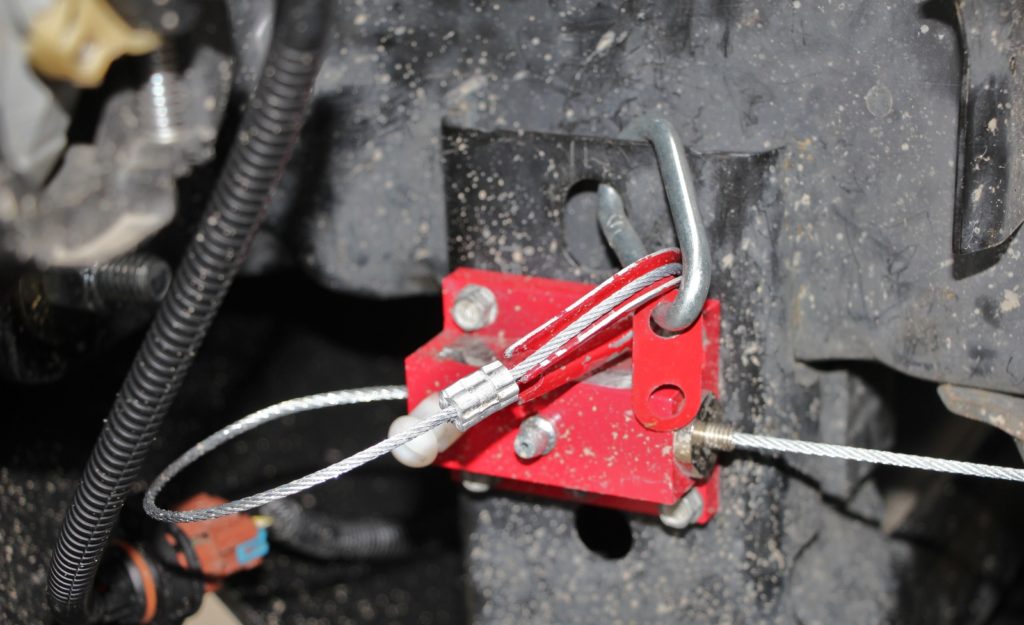
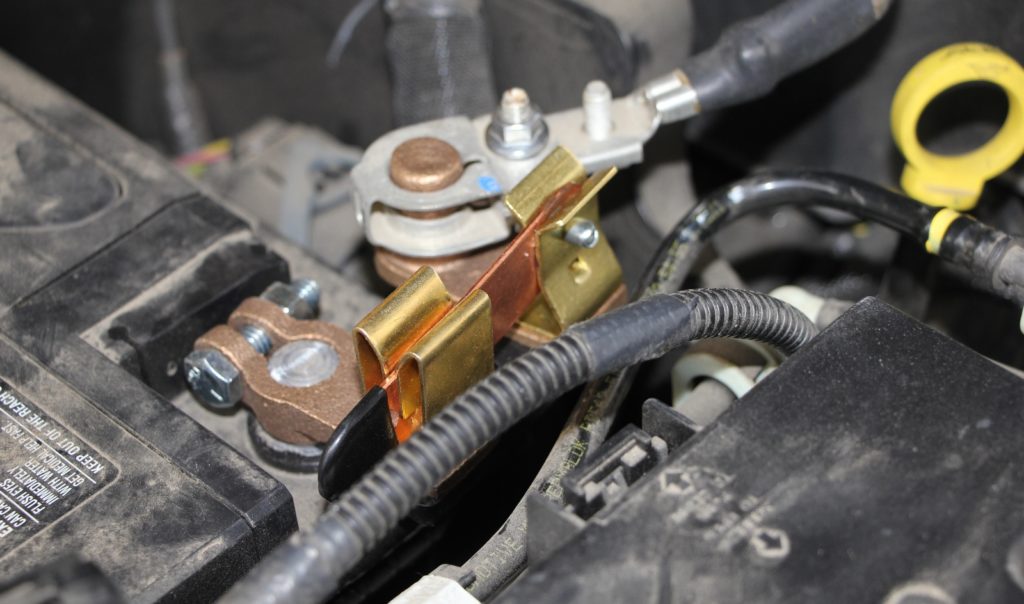
The ReadyStop break away device
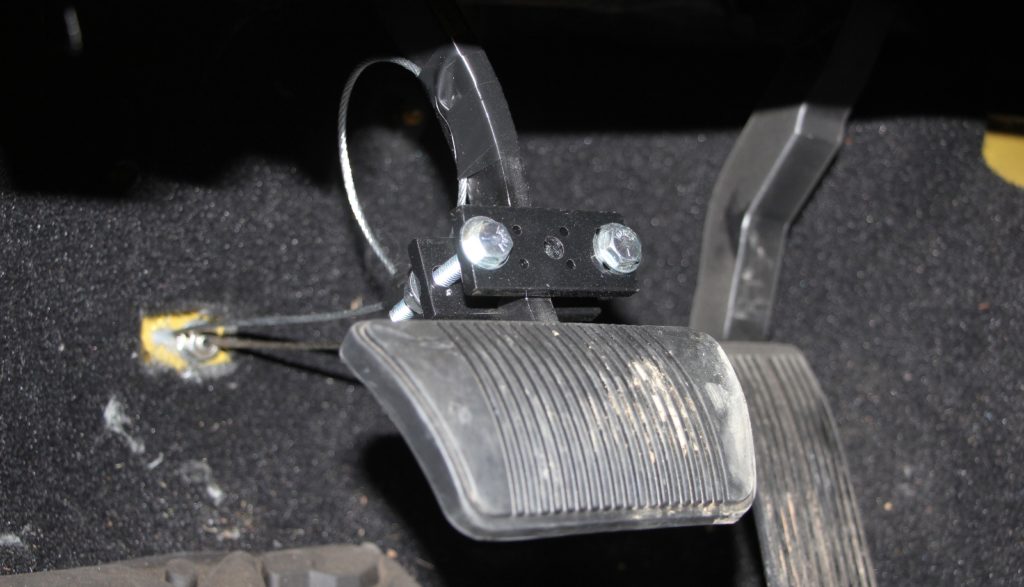
ReadyBrake and ReadyStop cables attached to brake pedal
Toadly Issues
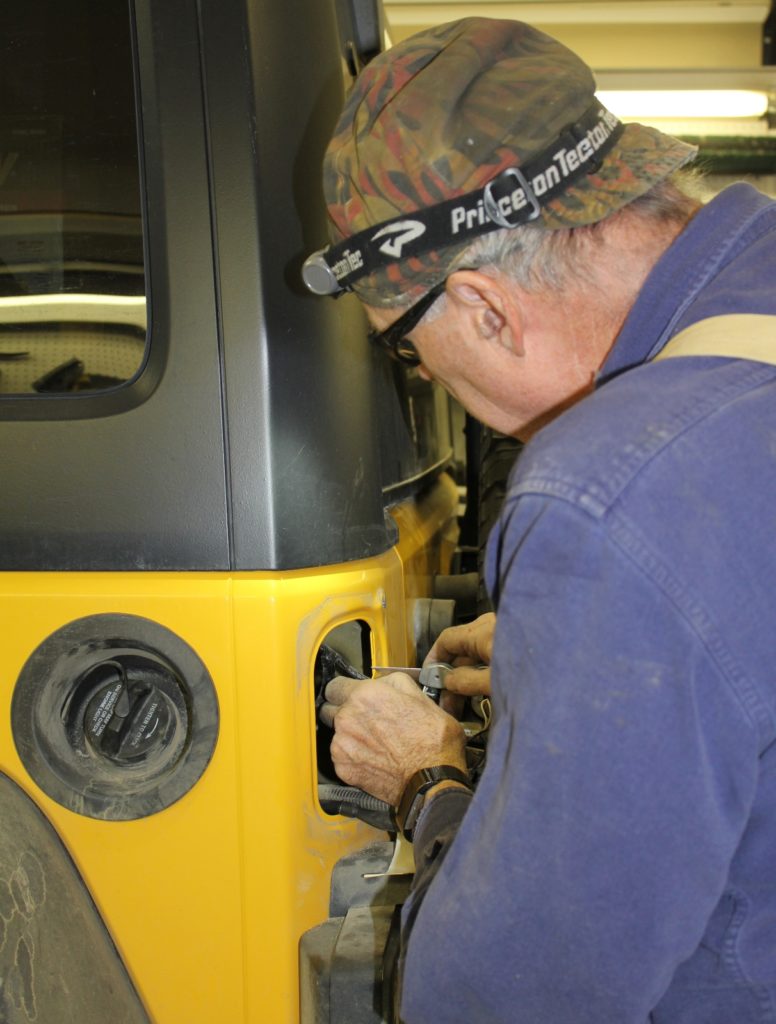
With the fog lights set further apart in the new bumper, the existing wiring was too short. Rock Hard 4×4 told us to cut back the wire loom to run the wires straight to the lights; however, this meant the wires would be exposed. Instead, we purchased these wiring extension adapters that are the perfect length.
Another problem was when the brake on the Jeep was pressed it overrode the signal from the RV. For example, when coming to a stop and signaling, all you would see are the brake lights. As a work around we installed a simple battery disconnect switch on the Jeep. When we connect for towing the last step is to disconnect the battery. No big deal.
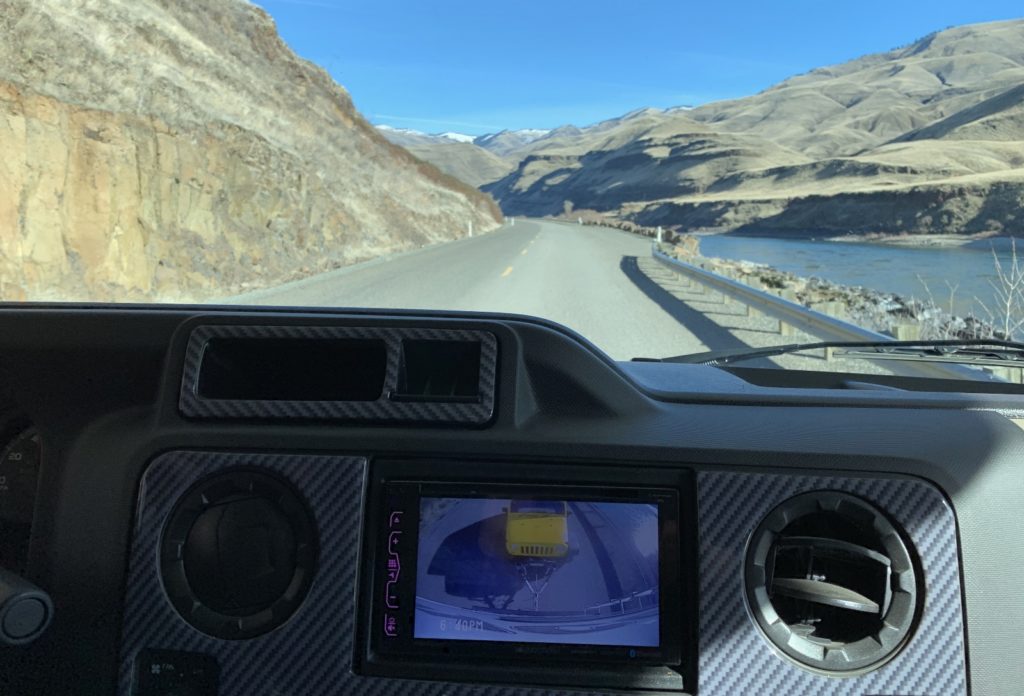
It was challenging to get both sides of the hitch fully extended so the ReadyBrake cable could be adjusted. There was little room to pull forward and straighten before the driveway turned sharply down hill. Backing up is not an option, because the front wheels will turn the wrong direction and can cause serious damage to steering components. When we did try pulling forward and turning we had the typical towing experience; we turned the wrong direction. We unhooked, backed up, and tried again. This time we gave ourselves more room by starting further back. This made the jeep roll backwards while getting it into toad mode. Crap.
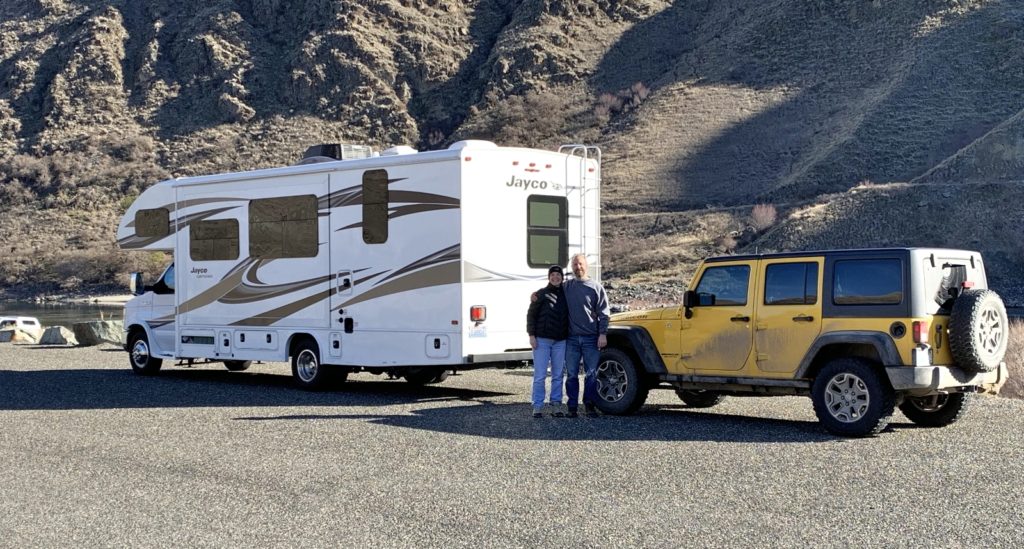
Another Toad on the Road
Once we had both tow arms extended and locked into position, we adjusted the ReadyBrake to achieve the recommended 2 to 3 inches of cable movement. It’s a fine line between the brakes continuously engaged and no braking at all. After a dozen or so adjustments, we finally got it.