Series: All Victron RV Electrical
This series covers our build of an all Victron electrical system. Take what is helpful and leave the rest—build your system for your own needs. Cheers!
Note: We are not sponsored by Victron, but we are Amazon and Tnutz affiliates.
Part 4: Wiring and Configuration
Part 5: Orion XS 1400 – Concept
Part 6: Orion XS 1400 – Design
Part 7: Orion XS 1400 – Installation
Appendix A: Fuses and Breakers
Introduction
In the last post I covered installation of two Orion XS 1400 DC-DC chargers and associated components to enable the system to charge from our truck’s dual alternators. Here I discuss why we added solar to the mix.
Solar is Better
Since we installed the DC-DC chargers, our generator has remained safely stowed back home in the garage. For the most part this was the upgrade in charging capability we hoped for.
However, there were compromises. Sometimes we camp farther away from the next day’s trailhead to allow for more drive/charge time. More often we simply used less power, skipping some convenience we might otherwise enjoy. On one trip we stayed for a night at a campground we wouldn’t normally choose because they had power hookups. This was because short drive times would not allow the house battery to charge long enough to balance and synchronize to 100% SOC.
One perplexing issue occurred due to competing goals: the need to charge at maximum versus default BMS settings designed to extend battery life.
A common scenario was to max charge on a short drive, which allowed us to camp multiple nights without moving. However, sometimes the DC-DC chargers, once activated, within seconds would drop from the maximum charge current of 100A to 20A or less.
The reason for the low charge current was that a new charge cycle had not been initiated based on BMS settings. Either SOC needs to drop below the SOC threshold (70%) or the Repeated absorption interval (30 days) needs to pass. On a typical night SOC would not go below 80%. Adding to the confusion, sometimes it would max charge under these conditions, because we were still on the previous day’s charge cycle based on the Absorption time setting.
Until I understood (with some help) what was happening, I would perform a cold boot of the system by opening and closing the Lynx BMS contactor, which would initiate a new charge cycle. The cold boot discards any evidence of a completed charge cycle and Charge Voltage Limit (CVL) defaults to 28.4V on a 24V system.
And there was the endless control and monitoring. Once we were moving and RPM was up, I’d flip the chargers on via truck upfitter switch. About to stop? Turn it off to let the alternators air-cool a bit. Driving through town? Turn that current limit down to account for lower RPM at stoplights. Moving fast again? Turn that current back up. And so it went for every charge cycle.
Not for solar. I monitor if I am curious. That’s it. Otherwise, it takes care of itself. It charges, however it needs to, any time the sun is out and I don’t have to think about it.
Solar is also gentler on the system—no alternator temperature to worry about, and naturally lower charge current over a greater amount of time lengthens battery life.
When we relied on either the generator or DC-DC charging, at camp we discharged the battery down to 50% or even 40%. This made getting the battery charged soon a priority. With solar we occasionally get below 80%. No worries, mate.
I am not suggesting we rip out the DC-DC chargers. To have both is a powerful combination.
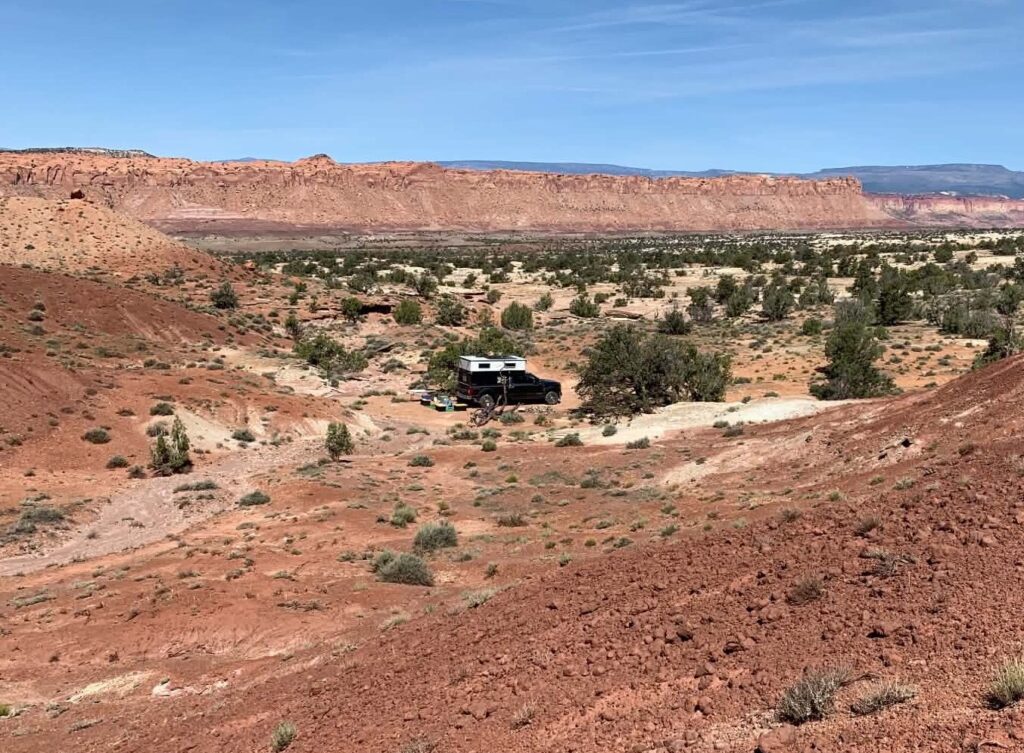
A few days ago we went through a rainy period. When we moved that morning, it was still overcast. The battery was at 63% and the system had initiated a new charge cycle—the first in nearly a month. It was a good time to balance the battery and synchronize SOC, but solar alone could not do this. The two DC-DC chargers, along with a little solar, were able to get it done in less than two hours.
More Solar is Even Better
The math to determine how much solar you need is fuzzy—the sun does not always shine and you are not always parked in it.
We had 600W of solar on our ORV travel trailer with half as much battery capacity. I thought at best for this system we could install 400W of solar. This would not be enough on its own to eliminate the generator, so we installed the DC-DC chargers first.
Why only 400W of solar? Space and weight, the latter of which was the bigger concern. With the larger Project M built for an 8′ bed, the top was already getting too heavy to lift since I’ve had back issues. Weighing it down even more with a large solar array did not seem like a great idea.
One solution to the weight problem is thin, flexible solar panels. However, I am not a fan. They are less efficient, less durable, less reliable, and more expensive. Moreover, we have the factory-installed Yakima tracks on the roof for the express purpose of mounting rigid solar panels.
To solve the weight issue, we made two changes. First we purchased a ratcheting cargo bar to work as a roof jack. We also upgraded our four roof struts from 40lbs to 60lbs based on dealer’s recommendation.
To raise the roof we first use the jack to lift the rear high enough for the struts to engage, then continue lifting by hand until the rear roof is fully extended. Next, I get up on the bed and do a push-up motion to lift the front until those struts engage. Weight problem solved.
These changes opened the door for our eventual decision to purchase two Renogy 320W solar panels.
Requirements
- [Goal] Build the largest solar array possible.
With solar more is better. Harvest as much power from the sun as you can when you can. I planned to push the limits of space and weight.
- [Requirement] The system will use the pre-wired solar roof port.
The port was already there, wired and hopefully leak-free. There is only a single SAE port, not three like we had on our travel trailer. The pre-wired cable is also smaller (10 AWG), but I will show in the next post how our design overcame these shortcomings for an even larger array.
Next Up
In the next post I cover the design of our (not the) solar system.
Parts List
Here is a list of items we purchased to build our system.
You can navigate the spreadsheet below directly or open it in a separate tab.
We are also Tnutz affiliates. They offer the lowest prices on the web for aluminum extrusions, brackets, and much else. Before ordering through Tnutz check out this page to learn how to save on shipping.
Thank you!
We are Amazon affiliates and appreciate your purchases through the provided links.
Open in Google Sheets